


A couple of months ago, I decided it was time for a home makeover. When I suggested giving the house some love, my landlord jumped on board straight away, so I rolled up my sleeves and dug in.
I’ve been living there for almost three years and was finally excited to put my stamp on the place. So far, I’ve tackled the kitchen, utility and the main bedroom.
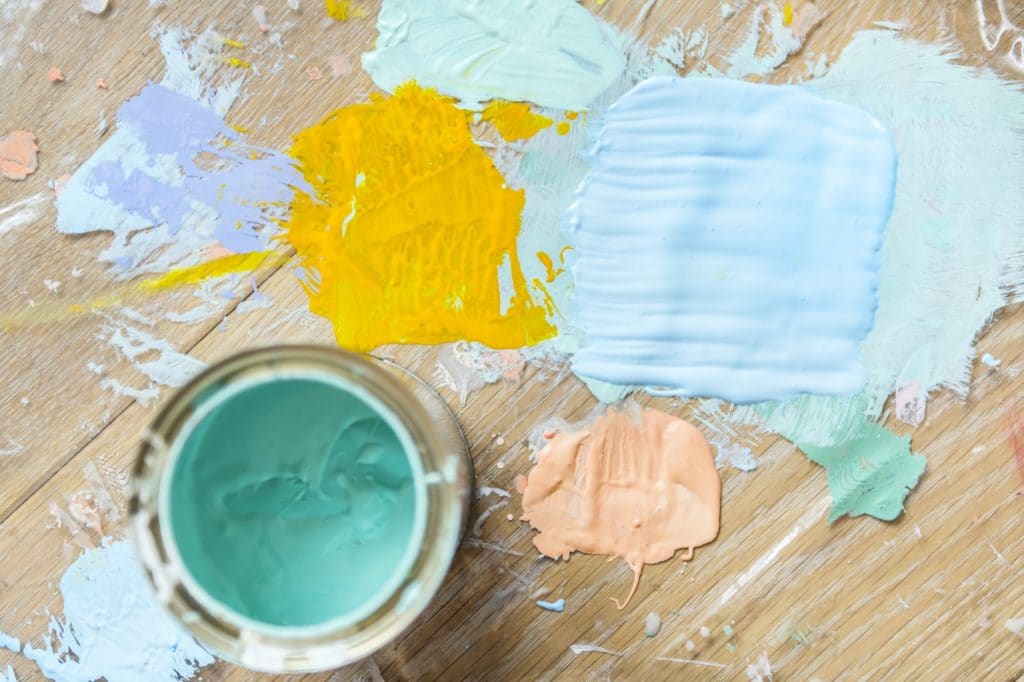
Along the way, I’ve made many mistakes. For example, I dropped an entire tub of paint (not just any colour, GLOSS!). I changed my mind about colour halfway through one of the rooms. I also foolishly decided to get a manicure the day before I started.
I advise you not to do any of the above.
With all that said, I like to think that I learnt a lot from these mistakes. As a result, I now have some pretty helpful DIY tips to share with fellow DIYers, and the house is starting to take shape.
I know what it’s like to find yourself on the verge of a DIY makeover. Of course, you are filled with enthusiasm. But maybe you’ve been lamenting over a particular room for the last few years. Or, perhaps you suddenly woke up a week ago and felt like 2004 rang and wanted its wallpaper back. Either way, you’re ready for a change.
You do things like create a board on Pinterest. You indulge in luxurious fantasies of high thread counts. You follow ALL the interior pages online, and you become an overnight whiz kid. I found myself using DIY lingo almost straight away. I started dropping phrases like “creating texture” and “pop of colour”, much to the amusement of my other half.
I used spray paint to upcycle the doorknobs on the wardrobe
But what happens when you dive into your DIY project only to realise, amongst the excitement, you forgot A LOT of vital pre-steps? Well, fear not. As someone who has made all the mistakes, fixed them and lived to tell the tale, I’m here to offer you some pre-DIY tips that you can use to prepare for that dream home makeover.
Plan, plan and then plan some more.
Start looking online for colour and style ideas rather than arriving at your local hardware with no idea what you want. If you are working with a small area, take your inspiration from rooms similar in size.
Here are some DIY must-haves:
- GOOD paintbrushes – I cannot stress this enough. A good set of brushes will save you hours of hardship.
- Covering for your furniture and floors – I used newspaper for the floor and a little masking tape to stop it from slipping when I stood on it.
- The finishing bits and bobs – Be sure to include the ceiling and woodwork as part of your room makeover. It’s incredible what a difference touching up these two things can make.
- White spirits – Get yourself a big bottle of this stuff. It will make the cleaning process so much easier, and it is also great for any little mistake you make when you are cutting in (that’s doing the edges to you and me). Alternatively, if you’re going to be painting with the same colours for a few days, you can wrap the brushes in cling film, which will stop them from drying out.
Plan your meals.
Food is essential; it gives you much-needed energy for DIY. So, if you are redecorating your kitchen, make sure you plan your meals.
Because of our small yard, we don’t have a big BBQ, so we decided to stock up on a couple of disposable ones beforehand. We enjoyed fish, chicken, pork and lots of other food outside during the six days we could not use the kitchen.
Of course, you can order takeaway; however, if it will take you longer than a day or two, you might want to look at some cold meal options too so you can avoid overdoing it on junk food.
Say goodbye to some of your stuff.
No matter how prepared you are, you will still end up grabbing something you hadn’t planned to use at some stage. For example, I found myself using a sock to wipe paint from my mirror in a hurry during the bedroom makeover!
The bedroom was a latte-beige colour before it had its makeover
Have a small pile of old clothes at the ready for those occasions. Even if you take an old t-shirt and cut it into smaller pieces, this should help to reduce your chances of ruining all the ‘good towels’ during your makeover.
Make sure you pick a DIY outfit, something you won’t mind never wearing in public again. You WILL get paint on yourself while you work – it’s inevitable. So, find something old and embrace the mess.
A basic rule to remember is: if you don’t want to paint it, cover it or move it. First, move whatever you can to another room and then cover anything that’s left. This includes counters, couches, sinks and fireplaces.
Don’t underestimate the time.
It may take longer than expected to get to the finishing line, so allow time for that. In other words, don’t plan to redo the guest bedroom three days before the in-laws are due to visit. Give yourself enough time to avoid stress and for any fumes to clear.
Lastly, make sure you allow for some downtime in the middle of your DIY mission. Make time for the family, stop for meals and get out of the house every so often, so you have a chance to re-energise.
Checklist (screenshot me)
Sometimes it’s the simplest thing we forget when we start any project. So take a screenshot of the below and have a simple checklist to hand when you do your supply run:
- A paint roller and tray
- Paintbrushes – one medium-sized, one small
- A mixing stick
- Masking tape
- The right amount of paint for the job, in the colour you want
- Drop cloths or plastic sheeting
- Absorbent cloths
- A step ladder


